iOS Firebase Configration
Setting up Firebase for your HandyHue App Project with iOS.
Add iOS App With The Package Name In Firebase Console:
- On the Firebase console, click the iOS icon.
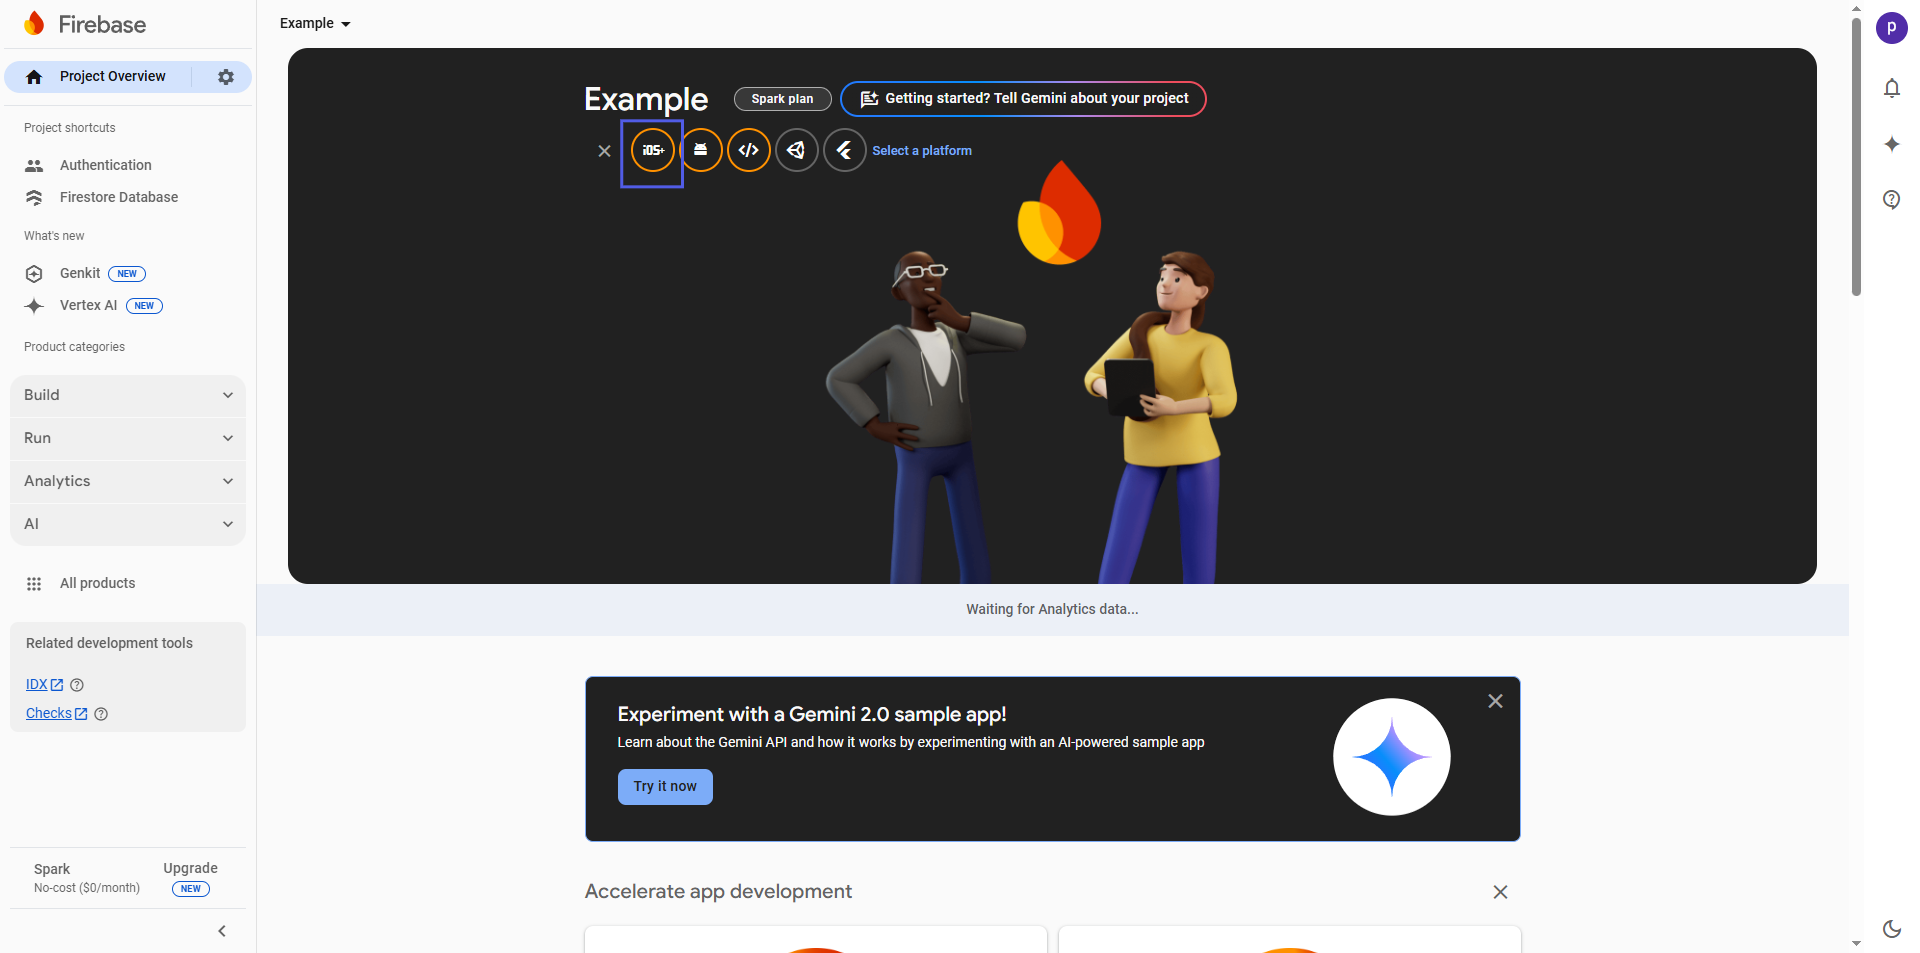
- Enter Package Name (e.g., com.example.userApp) and click on register app.
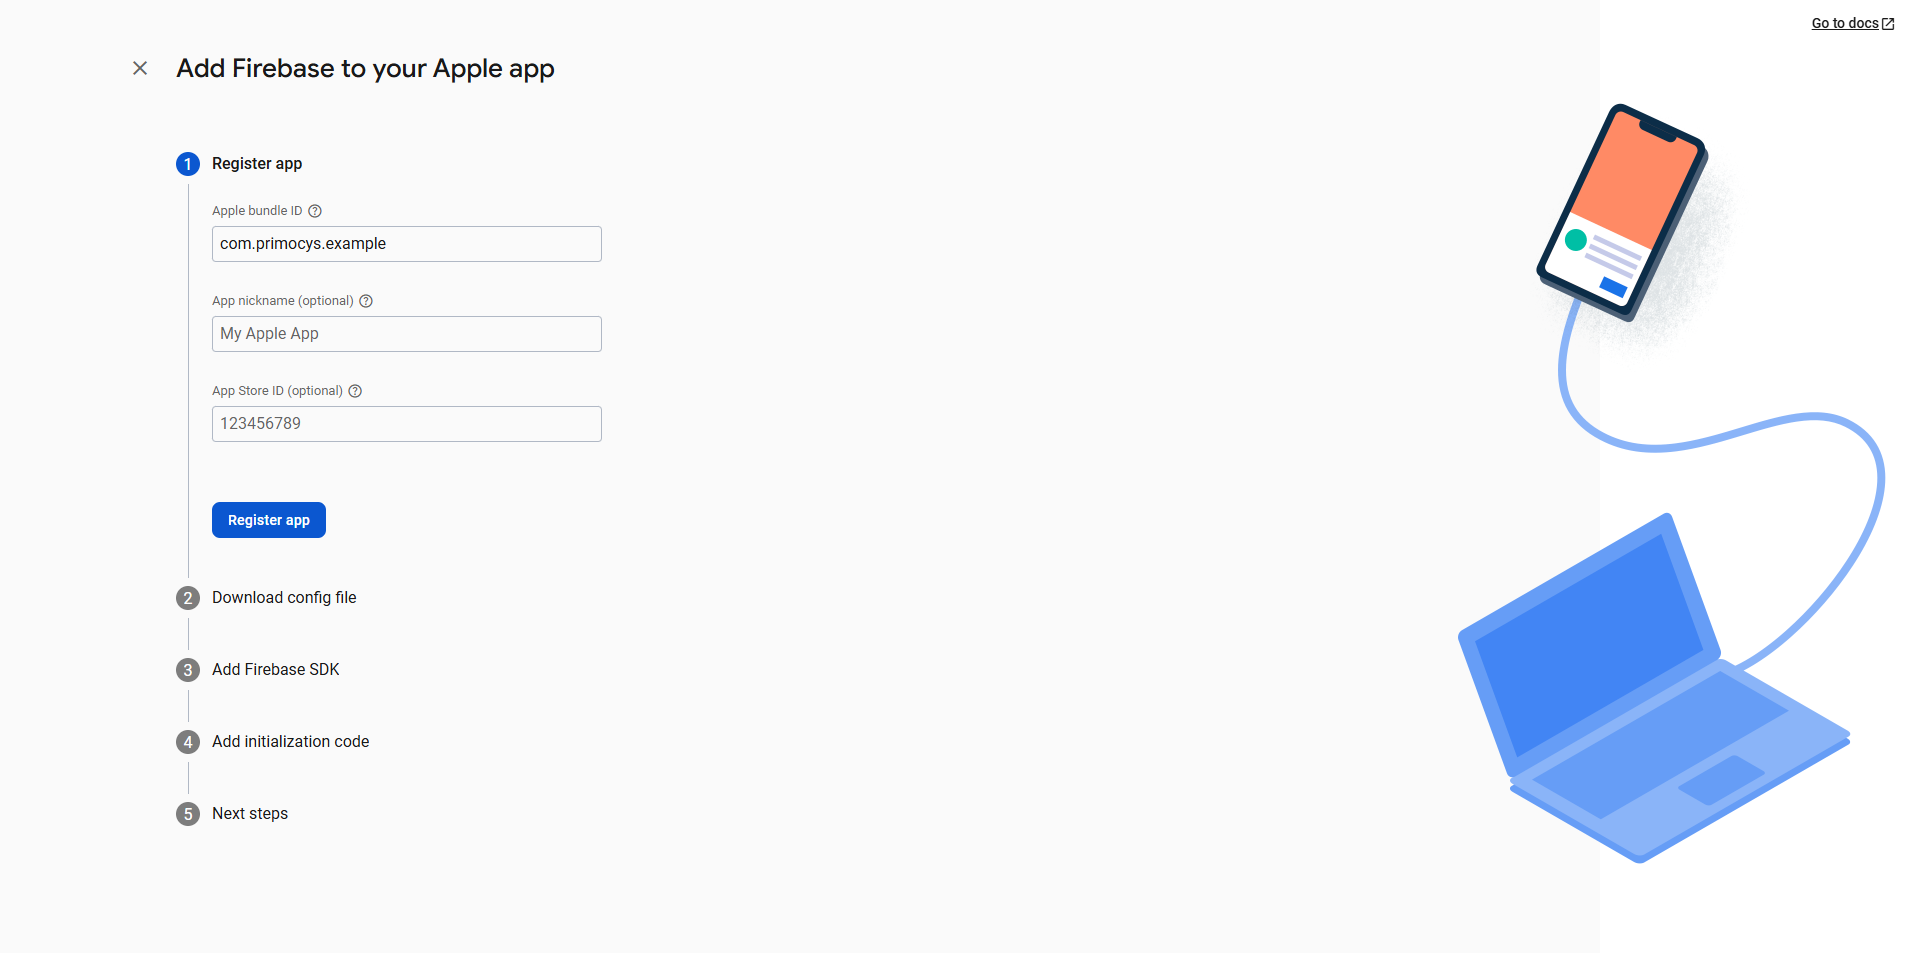
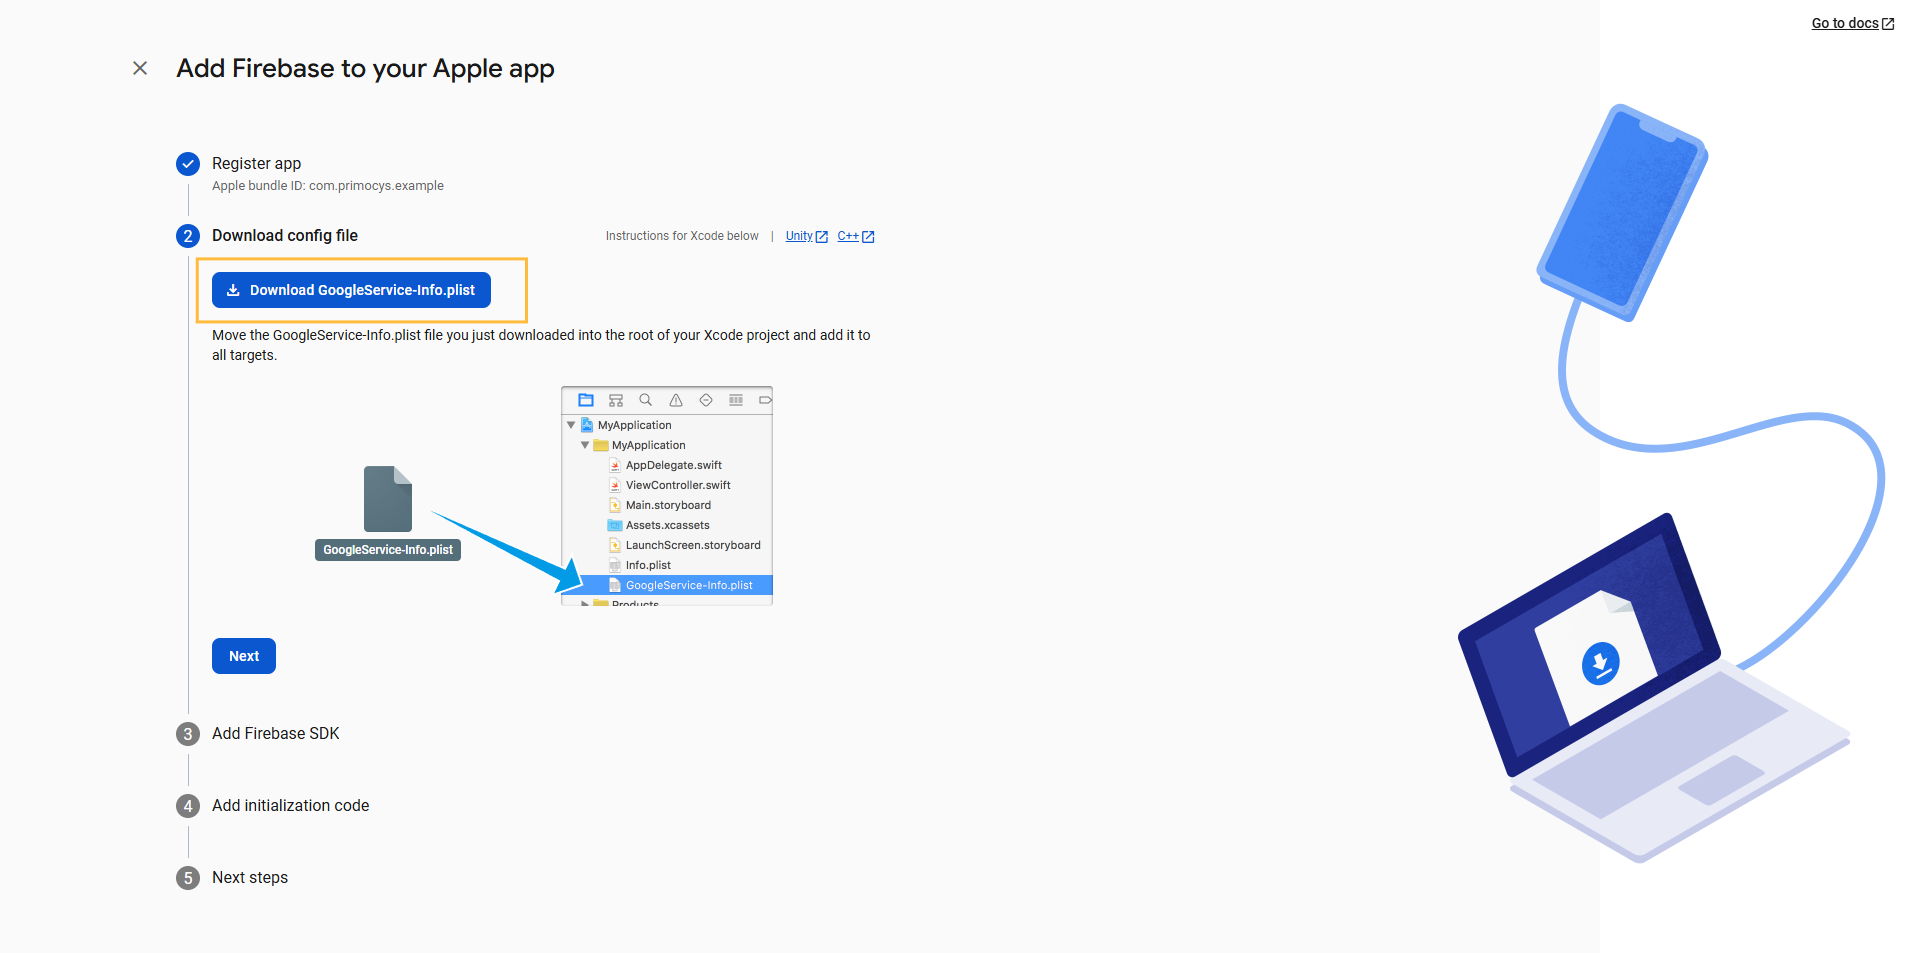
- After registering the app, you will receive the
GoogleService-Info.plist, download it. Otherwise you can download later after add Gogole login and push notification configration in firebase project so google login and push notification will work with your project. Check below how to add SHA in fribase
How to add Google SignIn in iOS Flutter Project:
To enable Google SignIn in your app:
-
Make Sure that your app on Firebase like above steps.
-
Make sure that GoogleService-Info.plist is the name of the file you downloaded from Firebase.
-
Add the following CFBundleURLTypes attributes into the [My_project]/ios/Runner/Info.plist file.
    <key>CFBundleURLTypes</key>
    <array>
        <dict>
            <key>CFBundleTypeRole</key>
            <string>Editor</string>
            <key>CFBundleURLSchemes</key>
            <array>
                <!-- Replace this value with the REVERSED_CLIENT_ID copied from GoogleService-Info.plist -->
                <string>Enter your REVERSED_CLIENT_ID</string>
            </array>
        </dict>
    </array>
Generate .p8 APNs Authentication Key from Apple Developer Account
A .p8 certificate (also known as an Apple Push Notification Service (APNs) Authentication Key) is required to send push notifications to iOS devices. This certificate is essential because it allows your server or push notification provider (e.g., Firebase) to authenticate with Apple’s APNs (Apple Push Notification Service) and securely deliver notifications to iOS apps.
-
Log in to App Store Connect.
-
Click Certificates, Identifiers & Profiles.
-
Go to Keys → Click the "+" (Create a new key) button..
-
Enter a key name (e.g., FCM Push Key).
-
Enable "Apple Push Notifications service (APNs)" and click Continue.
-
Click Register and Download the .p8 file (It will contain a Key ID).
You can download the .p8 file only once, so store it securely!
- Note your Key ID and Team ID (found in Apple Developer → Membership section).
Now Let's Add .p8 Certificate in Firebase
-
Go to Firebase Console
-
Select your iOS app.
-
In the left sidebar, go to Project Settings (⚙️) → Cloud Messaging.
-
Under iOS app configuration, find APNs Authentication Key and click Upload.
-
Upload your .p8 file and enter the required details:
- Key ID (from the Apple Developer account).
- Team ID (from your Apple Developer Membership).
- Bundle ID (of your iOS app).
-
Click Save.
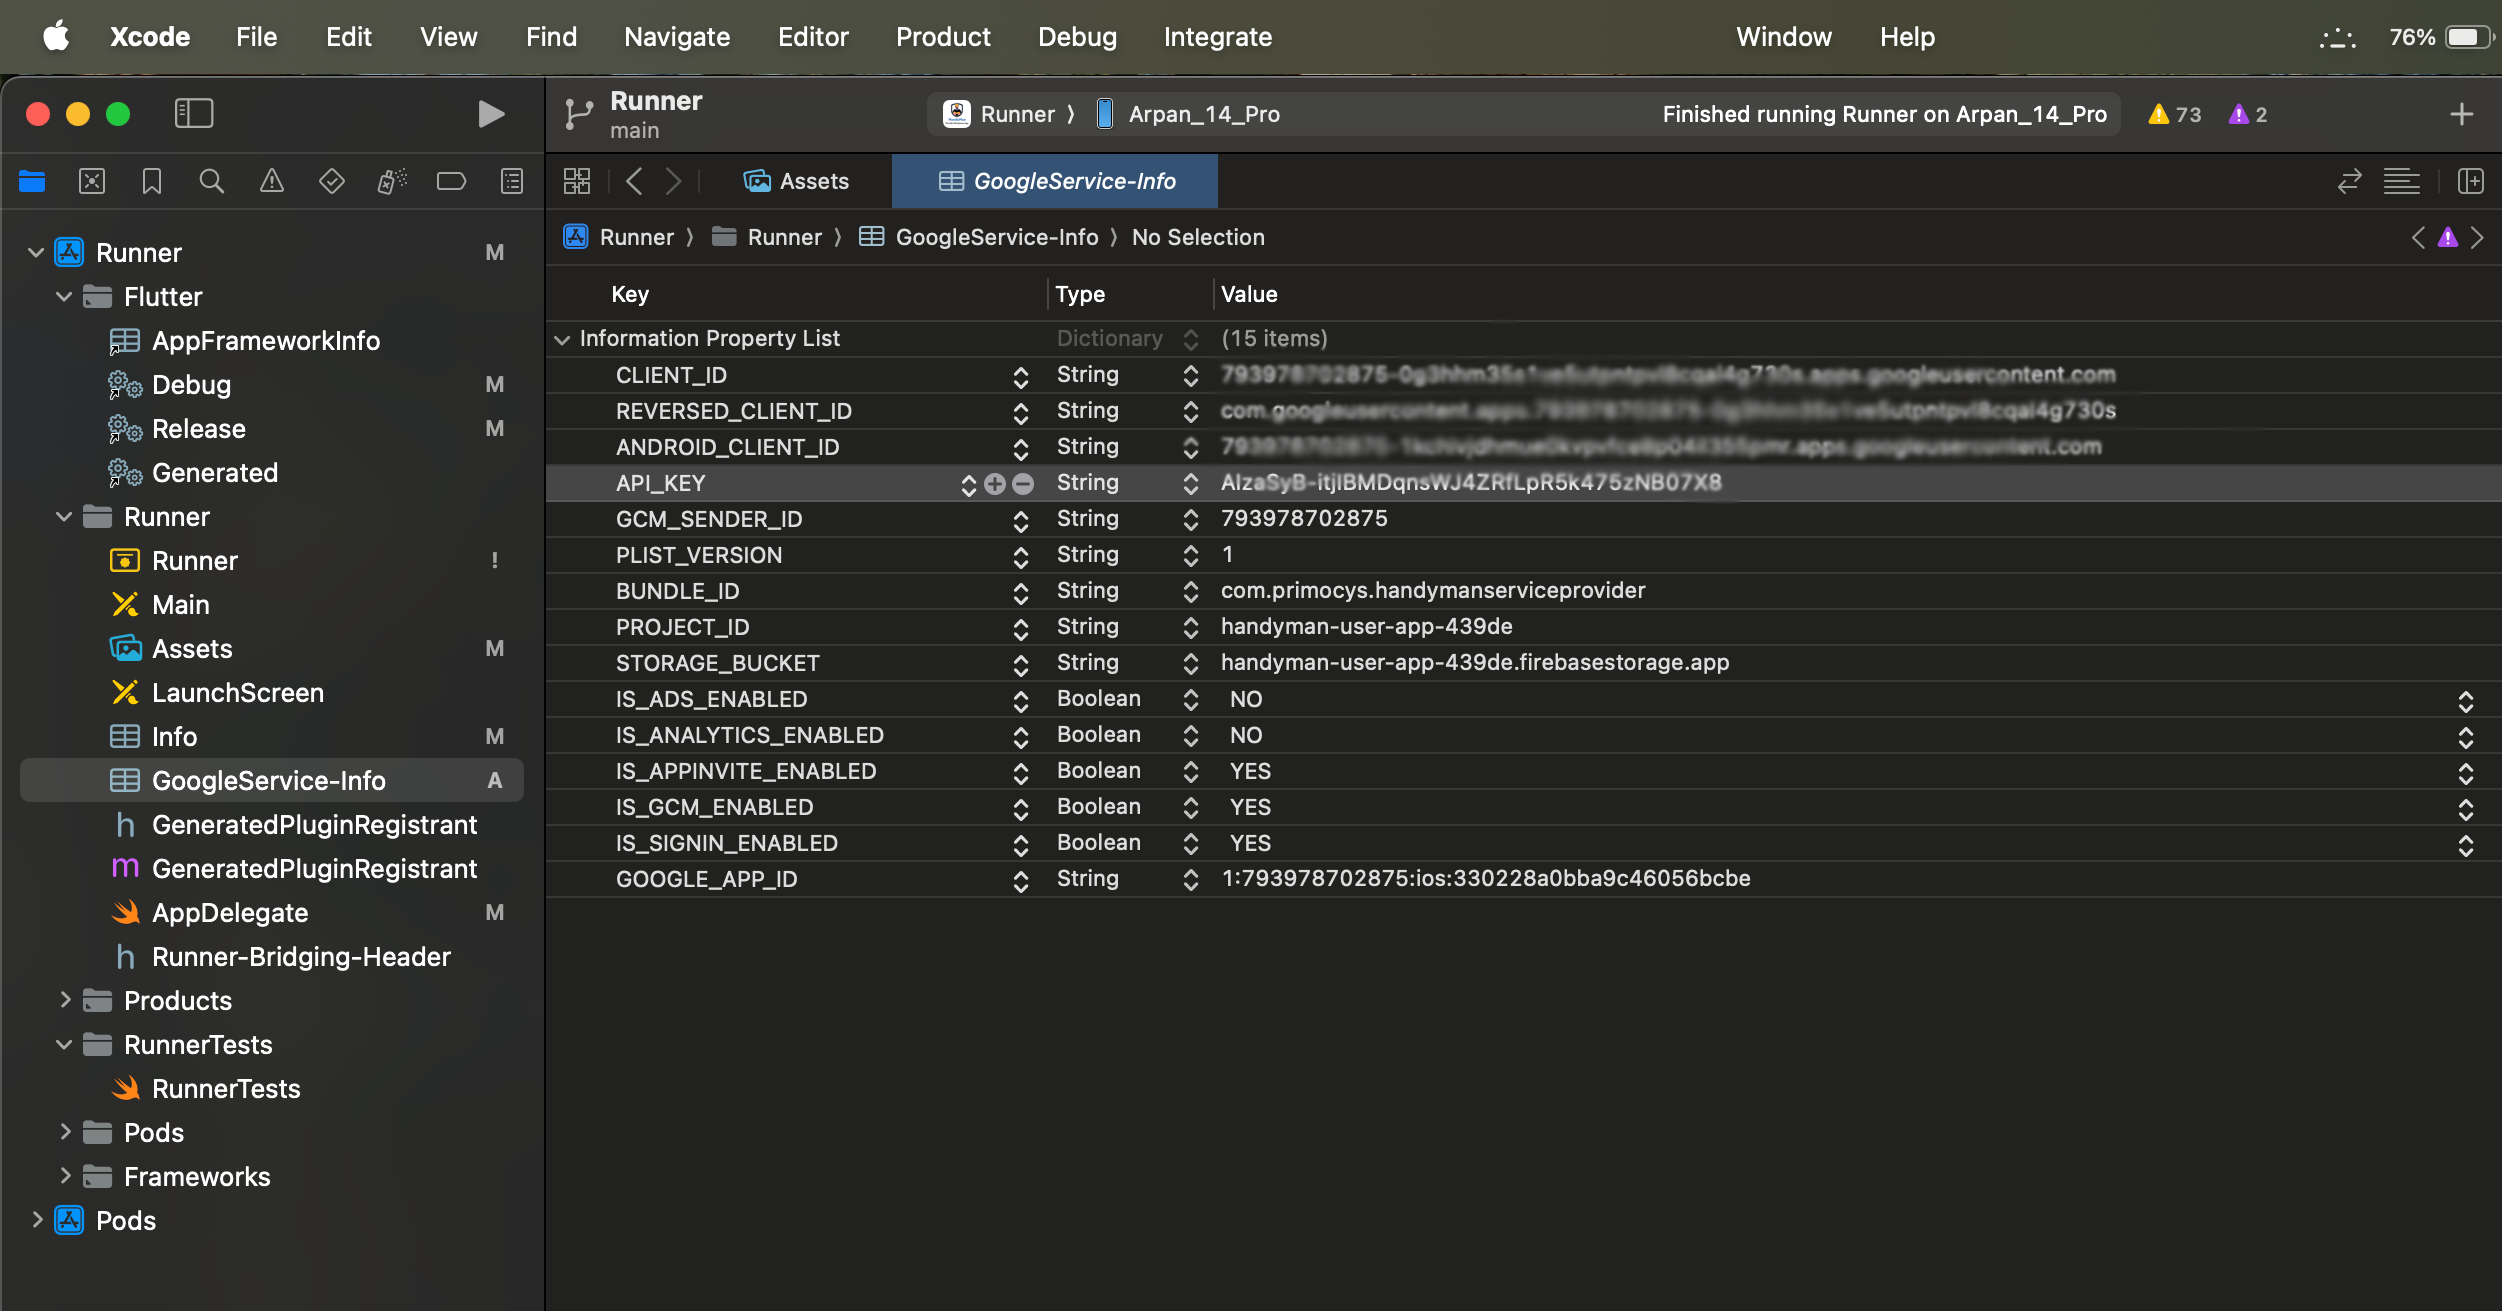
Now Let's add firebase generated info.plist in iOS Flutter Project:
-
Open Xcode on your Mac computer.
-
Navigate to the directory of your Flutter project on your computer.
-
Inside your Flutter project directory, locate the ios folder and open it.
-
Look for a file with the extension
.xcworkspacewithin the ios folder. This file represents your Xcode project for the Flutter app. -
Select the
.xcworkspaceor.xcodeprojfile and click on the "Open" button. -
Drag and drop
GoogleService-Info.plistunderinfo.plist.
Enable Push Notifications in Xcode
-
Open your Xcode project.
-
Go to Signing & Capabilities tab.
-
Click "+ Capability" and add Push Notifications and Background Modes (Enable "Remote Notifications").
-
Ensure your app's Bundle Identifier matches the one in Firebase & Apple Developer.
Test Push Notifications
- Run your app on a real iOS device (Push notifications don't work on simulators).
- Send a test notification from Firebase Console:
- Go to Cloud Messaging → New Notification → Select your iOS app.
- Click Send Test Message and enter a valid FCM token (from logs or app).
If you face issues, check Firebase logs and APNs authentication errors in Firebase Cloud Messaging settings.
Great! You have successfully configured the iOS App Firebase for Push Notificationa and Google Social Login!